- New doorbell unit
- Screwdriver
- Pliers
- Drill
- Level
- Caulking gun with caulk
Once you’ve gathered everything, you’ll want to set aside a few hours for the project — it won’t take you any longer than that.
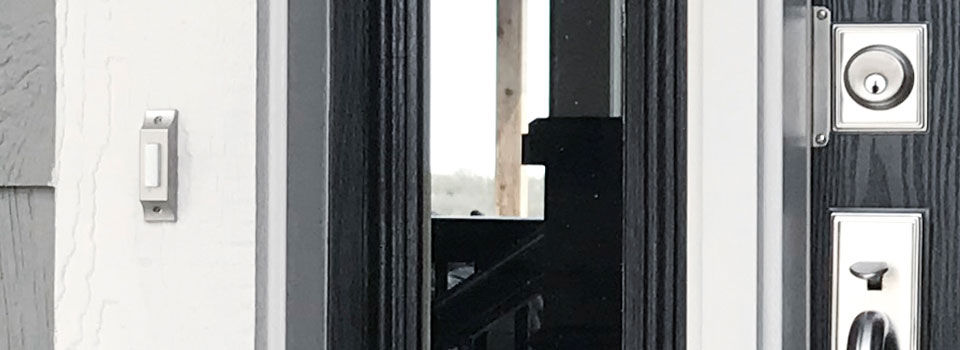
Maybe your doorbell sounds like it’s on its last leg. Or maybe you’re tired of the same ringing tones you’ve been hearing for the past few years. Either way, there will come a time when you'll want to know how to replace your doorbell properly.
A functioning doorbell is important for making your home feel inviting and accommodating. After all, do you really want your guests to have to pound their fists on your door to let you know they’ve arrived? Follow these steps to help replace your outdated or broken doorbell for one that you'll love to hear.
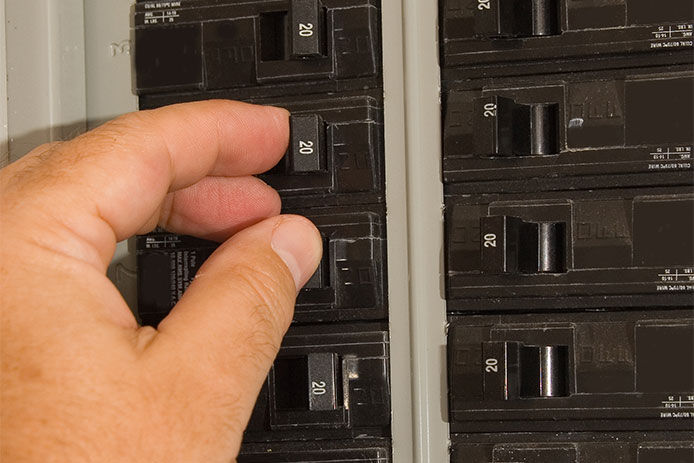
First, it’s important to make sure the power to the doorbell is off. You don’t want to shock yourself when you’re taking it out!
You can do this by going to your circuit panel and flipping off the doorbell’s breaker. Test the doorbell before you start working just to make sure the electricity is truly off.
With everything ready to go, now it’s time to remove the old doorbell button. You should be able to use the screwdriver to remove the screws holding it in place. Once you remove the outer housing, there will be some wires attached underneath, so be careful as you pull it off.
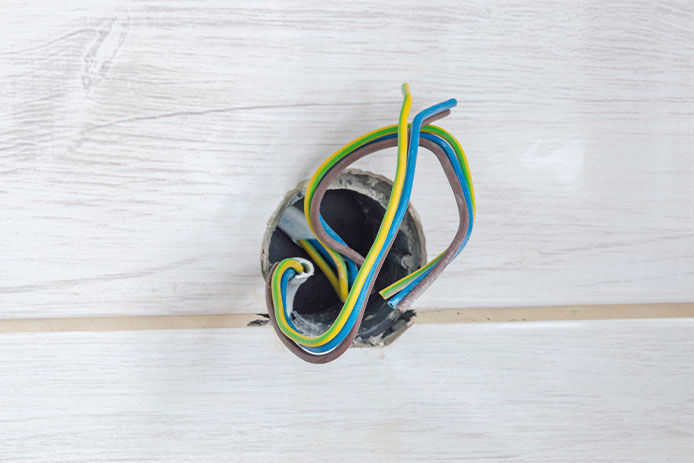
Before you can go further, you need to disconnect these wires from the old button housing. This is where the pliers come in handy. Gently work the wire out of the housing with the pliers, and use the screwdriver to loosen any screws that might be holding them in place.
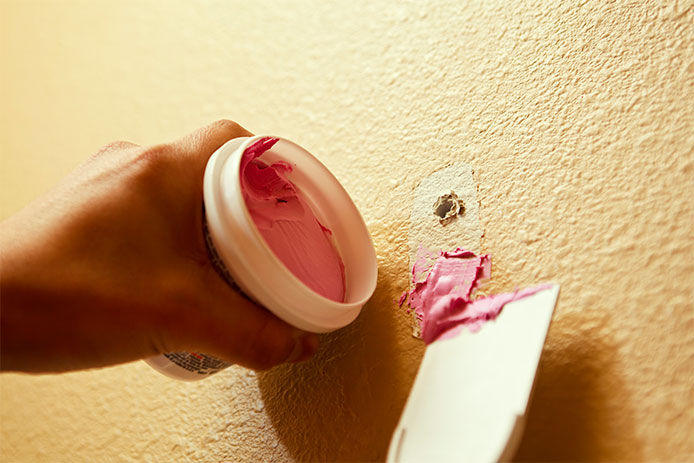
Chances are, your new doorbell button will have a different shape than your old one. This means the screws will go into the doorframe differently, so you should patch the old holes up. Learn How to Patch and Repair Drywall
You might be wondering — why bother with this step, especially if the new button is just going to cover them up? Sealing up these unneeded holes prevents moisture from seeping into the doorframe and causing mold and decay. Read 5 Tips to Caulk Like a Pro
Now it’s time to attach the new doorbell button. Again, you’ll need to make use of the pliers. You’ll likely need to wrap the wires around the screws on the back of the new doorbell.
Make sure the wire is tightly wrapped so that it doesn’t come loose or have connection issues. Once you have the wire wrapped around the screws, tighten them in place so nothing moves.
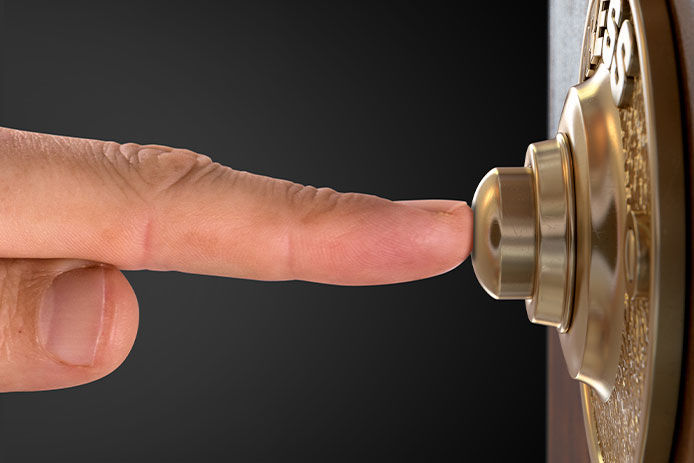
Now it’s time for the fun part — checking to make sure it works. Head back to your circuit breaker, flip the doorbell switch, and then press the doorbell button to see if you hear any sounds.
If you don’t hear anything, you may need to switch the wires around — just remember to turn the power back off again before you do so.
When everything’s working, all that’s left is to screw the new doorbell onto the door. Gently fold down or push the extra wire back into the hole in the door, and then use the level to place the doorbell in a straight position flat against the frame.
Mark where the screws will go and use the drill to create new pilot holes to help the screws go in easier. Then, screw the doorbell securely in place.
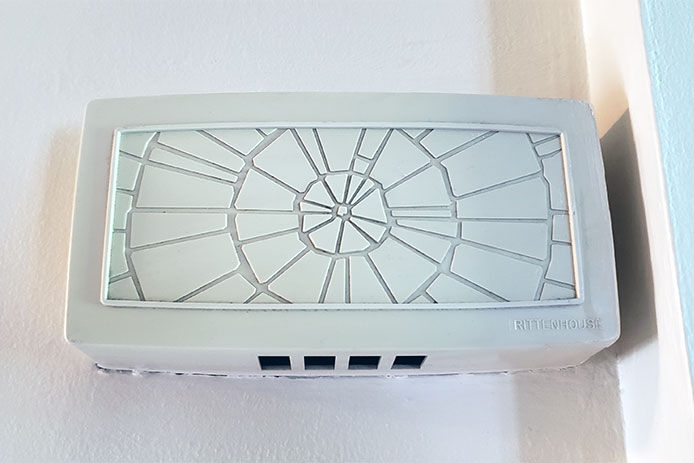
For many people, replacing their doorbell button is enough. But if you want to go a step further and upgrade your interior doorbell unit, the process is much the same.
Keep in mind that your doorbell button might not be on the same breaker as your interior unit. Double-check that the power is off to the unit before you begin the process.
Begin by unscrewing the unit from the wall with the screwdriver. It will also have wires attached, so again, be careful. Disconnect the wires just like you did with the button, then fill in any holes in the wall with caulking. Connect the wires to the new unit, create pilot holes for where the new screws will go, and then fix everything in place with the screwdriver.
With just a few easy steps, you can make a simple update that'll put a smile on your face every time you hear it. Your new doorbell will ring with fresh fervor, and guests or interested buyers will be excited to walk through the door every time.
While do-it-yourself projects can be fun and fulfilling, there is always a potential for personal injury or property damage. We strongly suggest that any project beyond your abilities be left to licensed professionals such as electricians, plumbers, and carpenters. Any action you take upon the information on this website is strictly at your own risk, and we assume no responsibility or liability for the contents of this article.